
A walk through of how we can set-up Software Restriction Policies in Microsoft Windows for basic application white listing. Software Restriction Policies have been around a while. I don’t see it being used often enough in environments considering the benefits it gives. Software restriction policies (SRP) gives us the ability to control what can be executed in certain areas of the file system. For example we can block the successfully execution of .bat file or a .exe file located on a users Desktop or Downloads folder. As you start to think about this concept more, it starts to make more sense why you would want to set this up, not only enterprise users but also for home users. When you think about malware and ‘crypto’ type ware and how easily these files are executed, blocking their execution from common folder locations makes even more sense. This is more about lessening the risk, mitigating the opportunity for unwanted binary and container files from being able to execute. SRP has been around since XP and Server 2003, it can be setup through Group Policy or alternatively for a workgroup environment you can setup on individual machines through the local policy editor in the same way as GPO. SRP could be classified as white listing and black listing. The white listing approach in my view being the more favourable. This also works as an effective control for Cyber Essentials Plus, downloading and email ingress tests.
At this point I hear many System Admins saying ‘no chance’ or ‘what a nightmare’ to configure on a large estate. To an extent there will be some pain involved in setting something like this up, needing to add exceptions for valid exe files for example may need to be made. In my view the protection of SRP far out weighs the initial pain of setting it up.
Lets have a look at how we can go about setting up SRP in white listing mode. We will demonstrate how we can set this up in its simplest form with a basic example that you can expand upon.
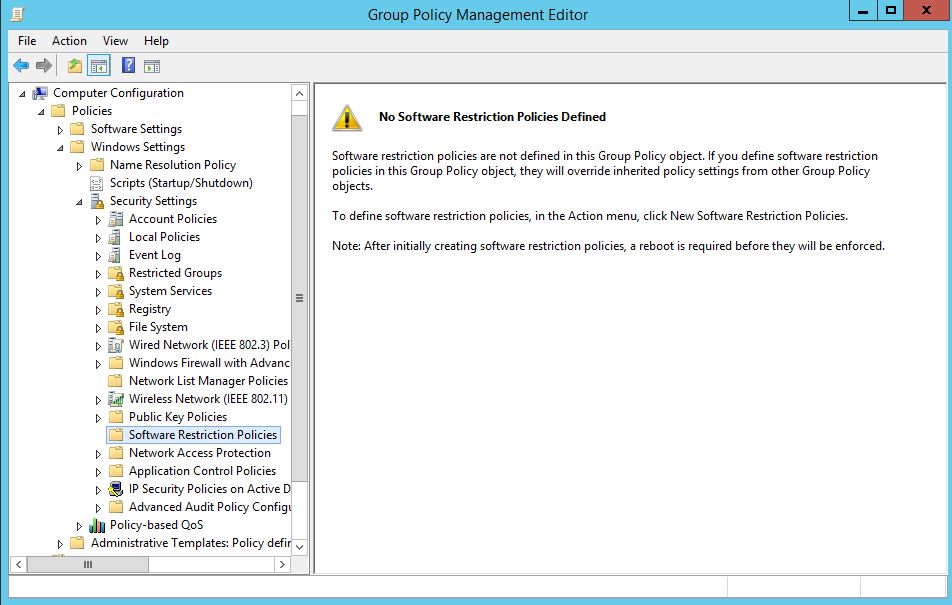
First on our Domain Controller lets create a new Group Policy and find the ‘Software Restriction Policies’ folder under Computer Configuration –> Windows Settings –> Security Settings –> Software Restriction Policies like below. If you don’t have a Domain Controller we can set this up through the local security policy editor. You will notice a message in the right pane saying that no policy is defined.
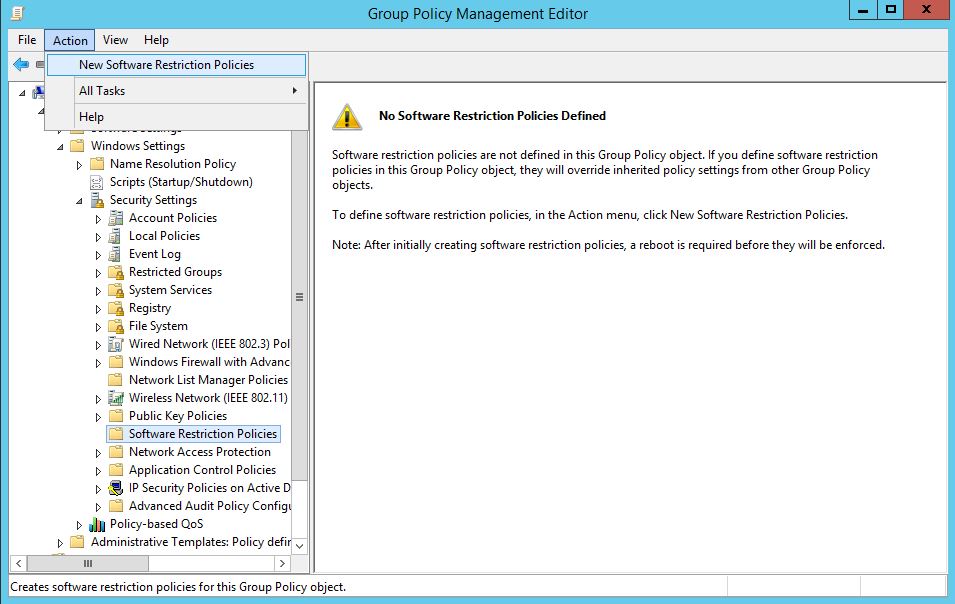
With the Software Restriction Policies folder selected, go ahead and select Action from the menu and select ‘New Software Restriction Policies’:
Your presented with the below:
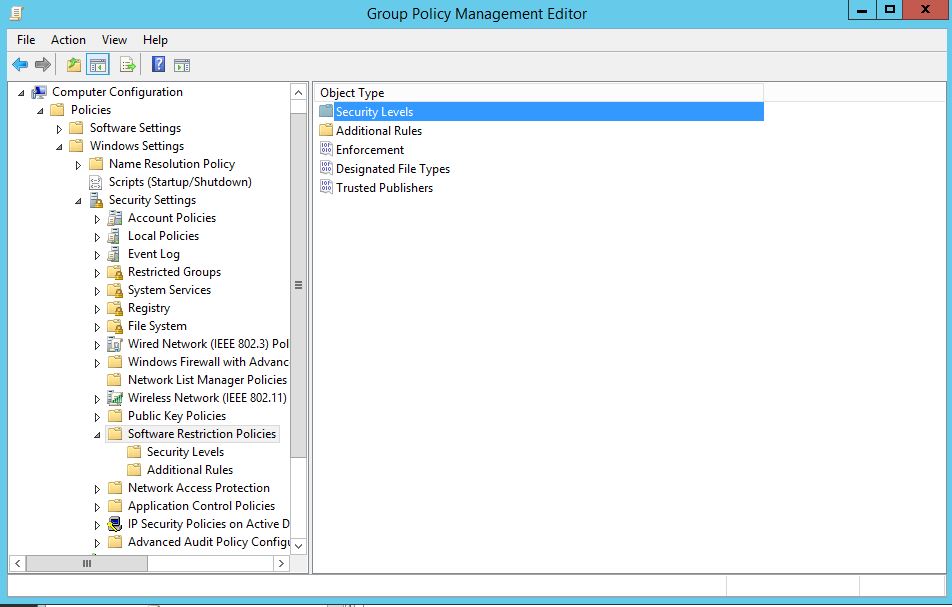
Under ‘Security Levels’ your presented with three options:
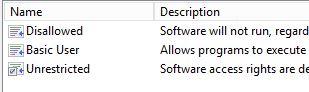 Disallowed: This is essentially our white listing mode which blocks all be default. We then add specific unrestricted rules such as C:\Windows.
Basic User: This is essentially the same as unrestricted.
Unrestricted: This is our black listing mode which allows all be default which then allows specific rules that we want to black list.
You may initially be thinking, lets try blacklisting a few locations first ‘the least restrictive option to start with’, I believe this to be a mistake and will cause more issue later on down the road. For example if we set the security level to unrestricted, then black list the location C:\Users\John\AppData\*.exe with ‘disallowed’ you wouldn’t then be able to allow a specific valid exe from running in C:\Users\John\AppData\Microsoft for example. In Microsoft’s world a deny trumps an allow. You would then find yourself having to block specific exe’s which is far from ideal.
White listing it is.
Moving on we can set the Security Level by right clicking on the level and selecting ‘Set as default’. Next accept the warning that will pop up, this is warning you that the level is more restrictive than the current level:
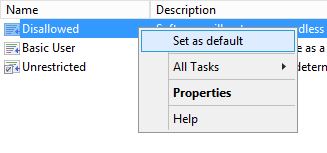
You should now have a small tick on Disallowed.
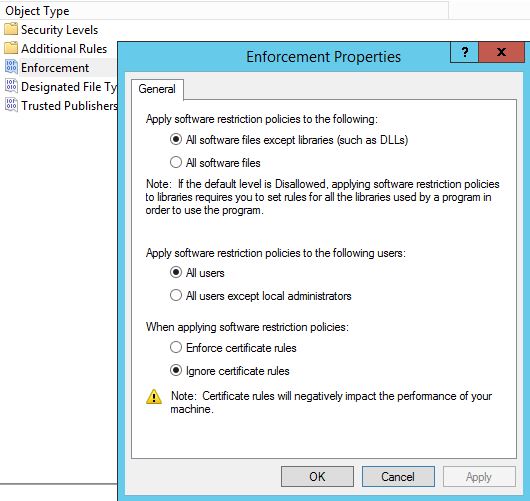
Lets now look at the ‘Enforcement’. Right click on Enforcement and select properties. We want to select ‘All Software files’ for maximum protection, we don’t want to just block libraries such as DLLs. In addition to this select ‘All users except local administrators’. This will allow local administrators to bypass the restriction policy, so will be able to install legitimate software when needed, by right clicking and selecting ‘Run as Administrator’ and the exe file.
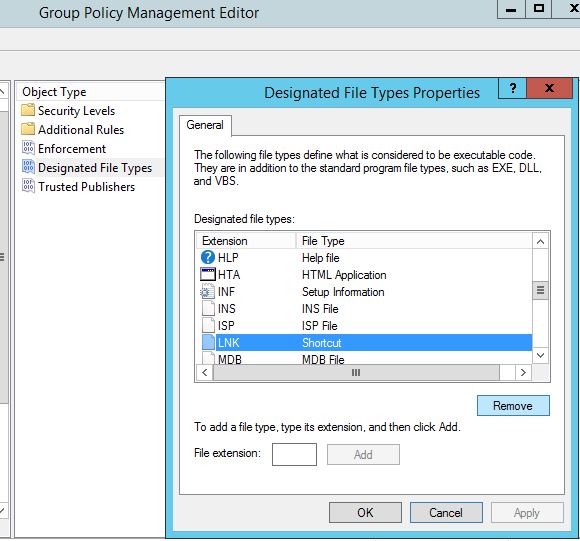
Next lets look at the type of files we want to guard against. Right click on ‘Designated File Types’, you can add various file types to this list, however one that we will want to remove is LNK files. Why? Well if we are looking to white list and block by default any short cut files ie .lnk files on a users desktop will not be able to execute.
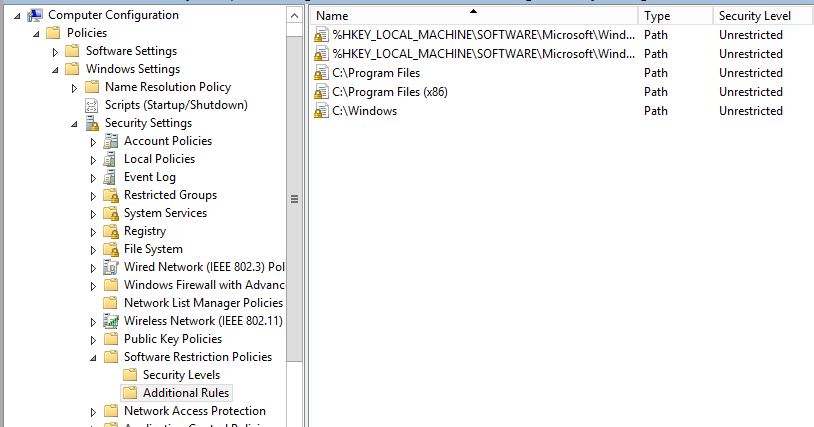
Now go to additional rules.
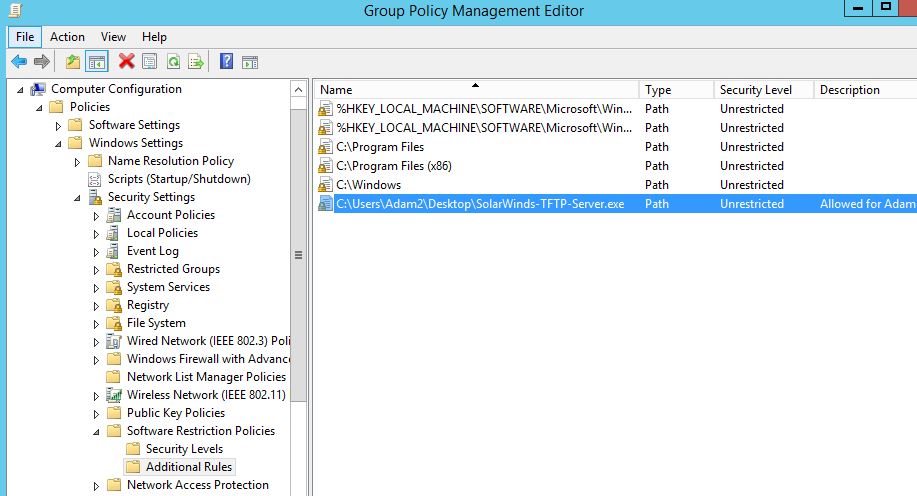
For a basic policy that is going to make a difference start with the following rules. The first two rules are set by default. Here we are allowing files to execute from Program files and and the Windows directory. After all we do want our users to be able to actually use the computer, right?.. files in these directories will naturally want to execute. (Remember this is just an example, in an ideal world you would go through and specify each valid exe file you want your users to be able to execute.)
Next we will apply this to a specific targeted group of computers for testing.
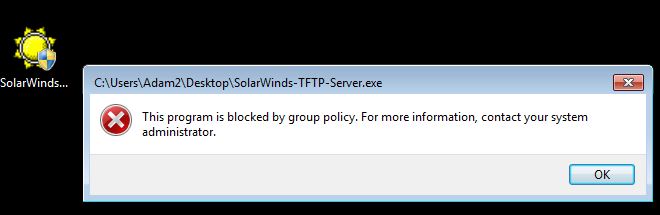
On our Windows 7 machine we try to execute the program ‘SolarWindds-TFTP-Server.exe’ from the desktop. This location is blocked by our policy as we selected the more restrictive mode of ‘disallow’ as the default action. We are immediately greeted by an error message explaining the exe has be blocked by policy. Great.
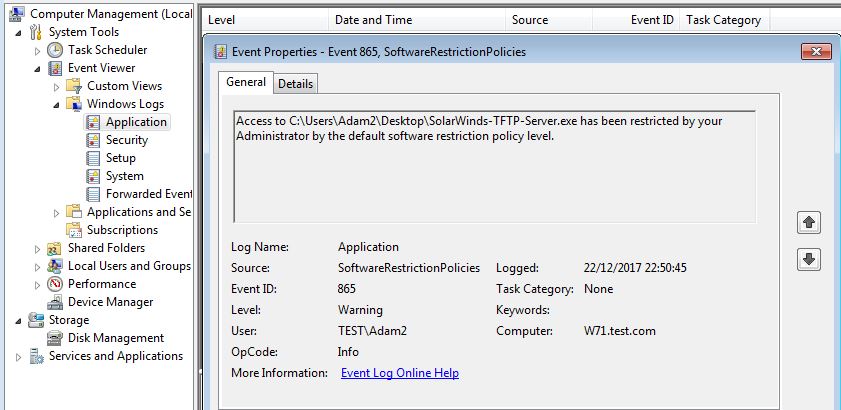
If we dig a little deeper, we can identify this action in the Application event log in the event viewer under event id 865, SoftwareRestrictionPolcies. This should make troubleshooting if a valid exe is being blocked significantly more easier.
So what do we do if we need to white list this exe as an example. OK so go back into our GPO settings, under additional rules we simple add a new path rule like below making it ‘Unrestricted’. Note at this point I have added a comment, this will help for auditing purposes:
If we reboot our test machine and try to execute the exe file it will now be able to execute.
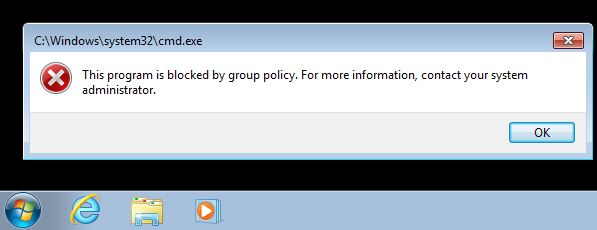
As an additional example look at how we might use SRP to block a user from running cmd.exe and PowerShell.exe. Remember you will want to block ISE as well so we will block cmd.exe explicitly and the Windows PowerShell folder as a catch all. Remeber this time we are using the ‘Disallowed’ Security Level.
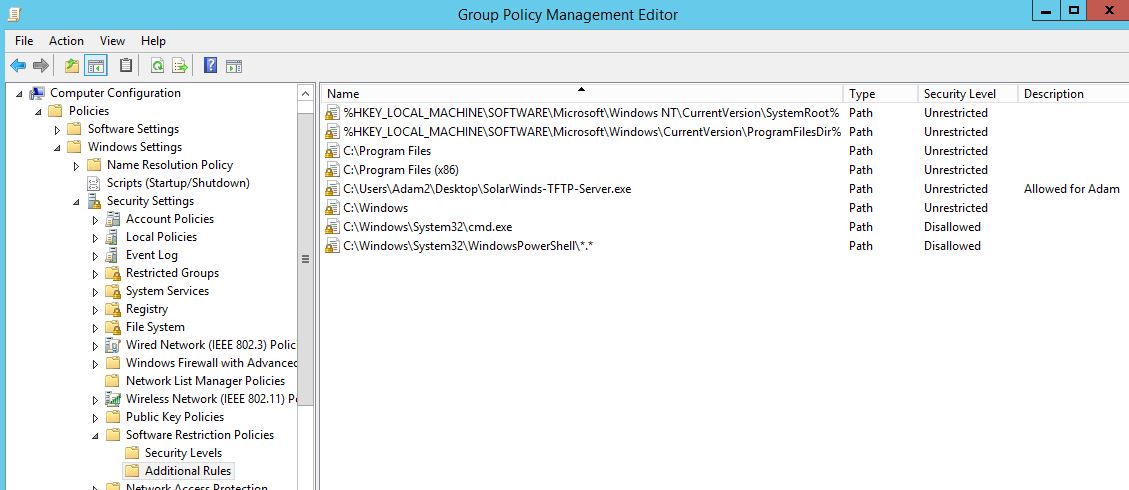
And here we see it in action blocking cmd.exe explicitly:
And PowerShell at the folder level in order to also block PowerShell ISE and other variants :
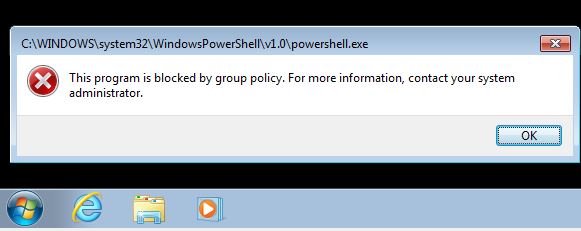
Careful with these two though, while it might seem immediately the right thing to do, you may run into potential login script type issues later on. Whilst this seems the right thing there are various ways of getting around these being blocked. Testing is key.
Hopefully this demonstration has shown how easy SRP can be to setup and the valuable protection it can provide. This isn’t a perfect solution by any means however will go along way to offering good sound protection to user environments for very little cost.